Rotor Valve Challenges
We can’t stress this topic enough. There are many problems with rotary valves. Maintaining them requires skills in tying knots, gentle tapping with special hammers, not to mention all those little screws and bumpers. Then after they are completely apart, they must be cleaned off all the dirt and debris on the valves and inside the casings. Lubricating and returning them to their proper casing and reassembling are the next hurdles.
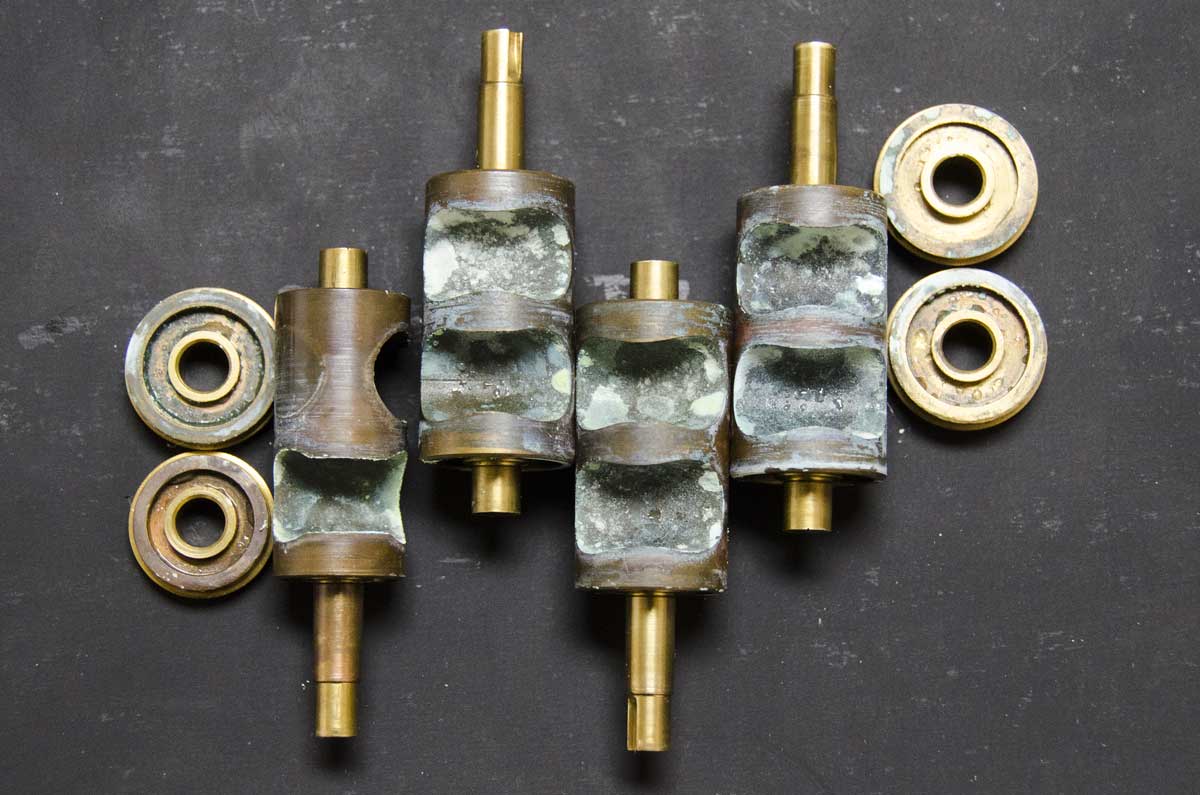
This first picture here shows valves from an instrument that the valves were barely working on. You can see the oxidation and staining on the valves from lack of lubrication turning them almost black. Prolonged lack of lubrication along with dirt and debris caused this build up inside the casings and prevented the rotors from turning smoothly. Sometimes it is so bad we have to forcibly, but gently, drive the valves out of the casings. We then have to clean the valves and the body of the instrument in our ultrasonic cleaner to get them back to new condition.
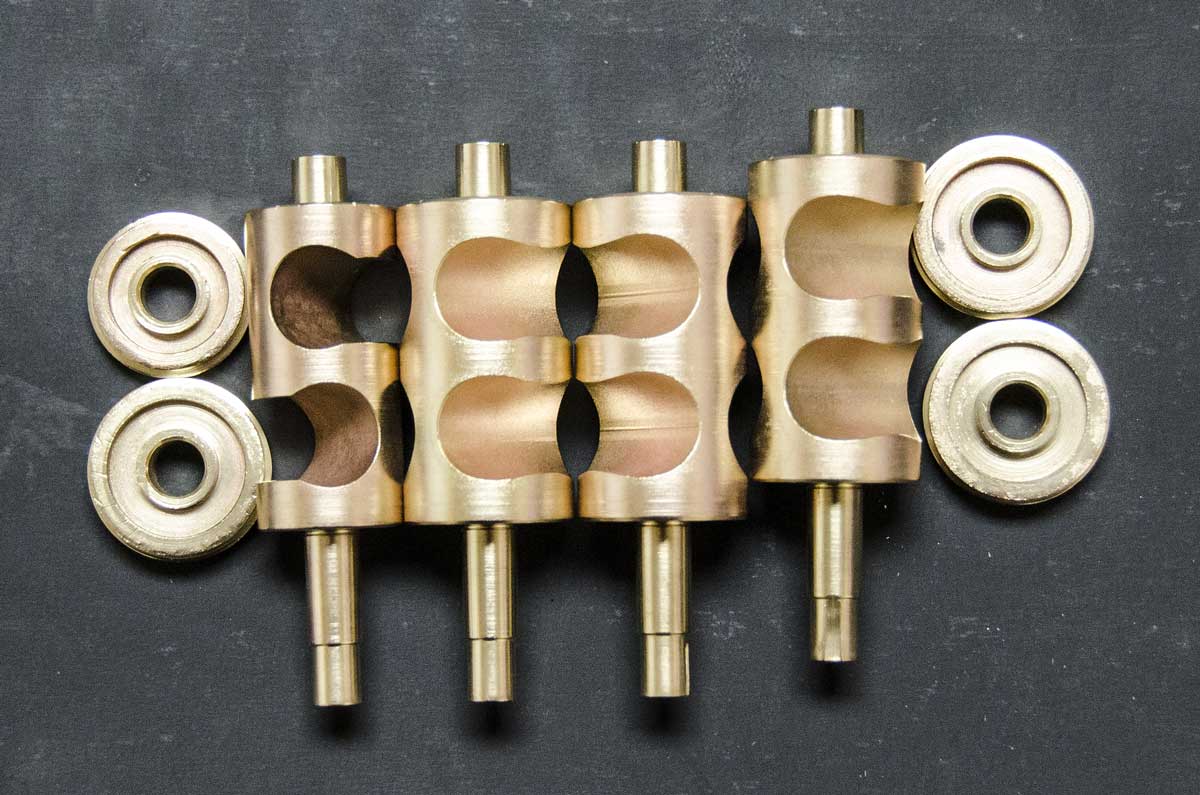
In the second picture you can see the valves after they have been cleaned just before they are re-installed in the instrument. Proper lubrication will keep your valves looking this way and prevent sluggish action due to oxidation and build-up. Even when you instrument is not being used for prolonged times it is very important to keep lubrication on the valves, and slides, to keep them from freezing up.
In the Repair Shop we use Hetman’s Oils. They are a synthetic oil that lasts much longer and therefore does not need to be re-applied as often as petroleum based oils which dry out faster.
If you have any questions about our blogs or need more specific information please don’t hesitate to contact us here in the Repair Shop.
No Comments